Pages

Showing posts with label Kitchen. Show all posts

Thursday, June 13, 2013

Cooking terms!

 I am always inspired by Melaine over at mysweetsavannah.blogspot.com!! 
I love everything in her home...

Her home is gorgeous. 
I fell in love with the cooking terms in her kitchen the moment I saw them. 


I had a few moments to get crafty today...
I pulled out my Cricut and cut some cooking terms in vinyl. 
Will they help me to love to cook more?
Hmmm..not sure, but they do make me like the light box more. :)


Have a great night!! 

Love, 
Naomi

Monday, June 10, 2013

Footboard Pot Rack!

I have a little kitchen update for you today...
I am loving the transformation this kitchen is going through.
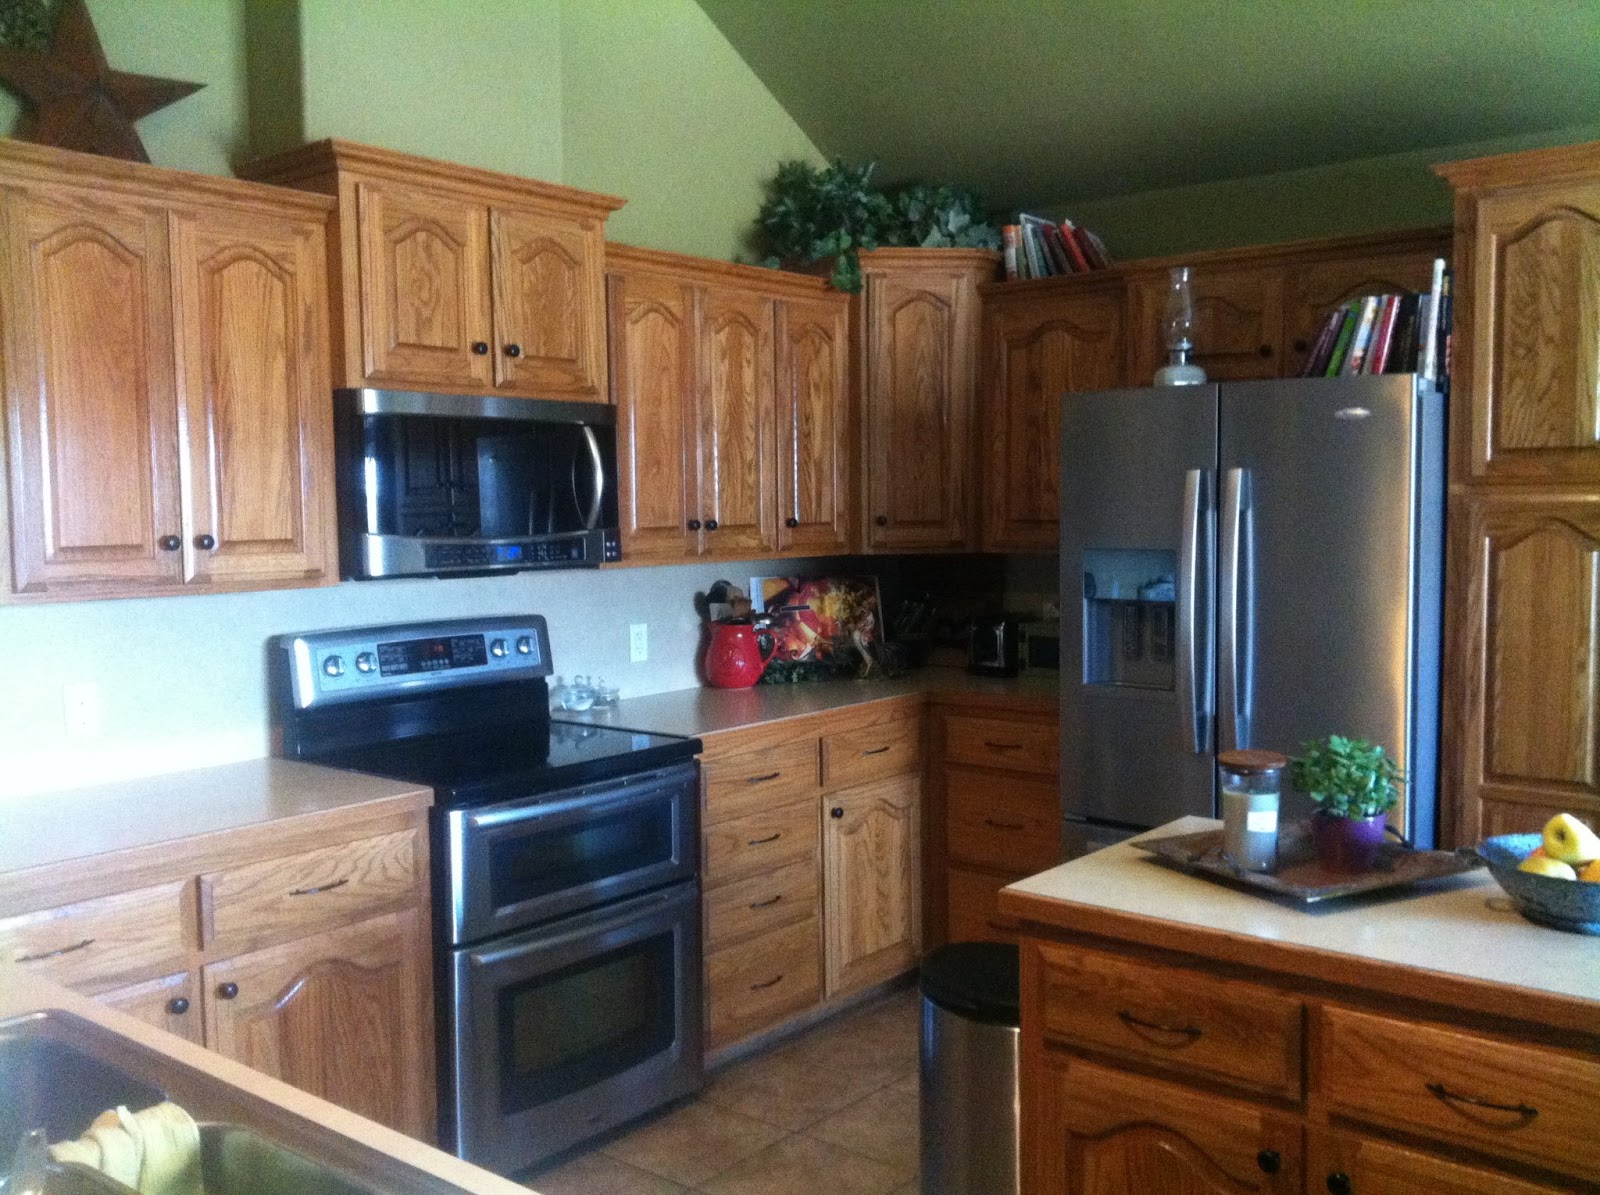
It all began with here with a lot of white paint.
As you should know by now, I love anything old!!
If it has chippy paint, I am going to love it, that's just how it is around here!


Since we were not going to change out the big big ugly light box in the kitchen, a thought came to mind on how to change it so I'd like it..haha!
A pot rack came to mind..first goal was to find a iron gate, which I ended up finding some really beautiful turquoise one....sigh...but they were so out of my price range! 
However, this headboard and footboard was a score at $10 and it was the perfect size I had been looking for...


At this point turning your head and thinking this woman has lost it..haha. A footboard in the kitchen? Well, why not? It's sturdy, it's full of character...and I like the unexpected!!


A really good cleaning took of most of the chippy paint, which was sad, but it needed to also be safe. I then added a sealer to protect the rest of the paint.
 Hubby, after 16 yrs, has seen some crazy things happen around here..but he did kinda shake his head on this one. He sweetly put it up for me anyway!! 
He is a keeper for sure!! 
Love you my Love!!


 He used eye hooks and chains to hang it. As for now, I hung some of my favorite treasures. 
A big bundle of lavender needs to happen soon.


Enjoy today...
Think outside the normal, everyday items. 
Crazy fun things are bound to happen that will add a smile to your face!!

Love,
Naomi


Friday, March 22, 2013

Kitchen get's drenched in Whites!


I'm so excited to share with you our Kitchen redo!!
I have been wanting to paint my oak cabinets for a long time..you know when you know it's going to be so so so much work, that you hold off till you just have to make your self take that leap? I'm so glad we finally did!!


I'm amazed every time at what paint will do.
I have always loved the look of a farmhouse kitchen...butcher block counters are a favorite of mine! Hubby was so good to me and surprised me one night when he ordered them! I so love him!
I've been asked to share on how I re-finished them, so here we go...Pic Overload on it's way!!!


Step 1: My cabinets had a thick layer of varnish on them, I began by sanding them a bit to ruff them up. This was the messiest part!! It was also where I went, oh no what was I thinking...with a family of 6, our youngest now at 21 months, you can only imagine how long this project would end up taking me. Start to finish..3 1/2 weeks! I would recommend having a sanding/prepping party..hahaha! That is really the part that takes the most time to do.
Step 2: After sanding I cleaned them and wiped them with a deglosser. It says you can skip sanding when using a deglosser, I choose to do both. Better to be safe than sorry in the long run for me.


Step 3: Primer...


Step 4: Time to add your color...we went with the same white as all the trim in our home. The sweetest hubby in the world saved me and sprayed the doors for me!!! As I was slowly painting away one day, hubby came home with a sprayer...I think he felt bad for me at the time, or he was probable thinking this will never end if I don't step in and save her, Hahaha! Did I tell you that I love him?!! He is seriously so good to me all the time!!


Step 5: Removed our old counter tops. The reason we didn't go ahead and start on bottoms was the counters needed to be removed, and we didn't want to scratch bottoms. Once they were removed, I started the whole process over again on them.


Step 6: We added a bead board backsplash! One of my all time favorites!


Step 7: Hello beautiful butcher block counters!!! Hubby ordered them from Lumber Liquidators. They come unfinished, so after hubby cut them, we sanded and sanded once again. We decided to stained them, then added a butcher block oil/sealers on all sides before installing them.


What use to be such a dark space is now light and bright, just what I needed! I used the same white, different sheen, on our walls as well. Our dining side is still a work in progress! My goal is to fill our wall with a collection of favorite plates, change out our curtains.  I am so in love with my home again. Our main space is now drenched in Whites!!


It feels clean, a new uncluttered space!  My heart is happy!!! It was a lot of work, but it was so worth it!!
Before I go here is a before and after for you...


Paint can completely change the feel of your space!
Thanks for stopping in...

Love,
Naomi

Thursday, October 11, 2012

Dresser turned into a cozy cabin kitchen!


My hubby decided to purchase a piece of land close to home so that he could take our boys hunting. My man LOVES all things that involve anything that has to do with hunting. It's only a 30 minute drive from where we live,  so it 's easy to just pack up and head out  for some country living...OH I SO WANT TO LIVE THERE!!  I love the COUNTRY!! I've always had a love of just living in the middle of no where...This place makes you feel just like that! Maybe it's the long dirt road that leads us there that makes it even more appealing to me.


Well anyone who knows me, knows that I'm a MAJOR DREAMER!! 
We just had to have a getaway...We decided that building a cabin was on our list of what we would like to do there. A friend of ours had a 12x20 storage that he wanted to sell and to us it was the perfect start to a cabin. We add a sweet porch....We are just porch sittin' kind of people!


A 12x20 space for a family of 6? OH YES...and we did it! Oh how we enjoy our time there.
I want to share with y'all part of the kitchen in our cozy wee little cabin...I knew I wanted to use furniture. I search for the perfect piece that needed to be saved. Let me just say this picture makes it look good...Hubby came to pick it up and he just politely smiled, and I think his friend with him, thought I had gone plain crazy!!

Hubby didn't second guess my decision...He has come to know me well! He believed as sad as this piece was with broken drawers, that I could make it shine! I love that about him!! I began with sanding  all the old finish off, which wasn't to hard since most of it was already pealing. The top got a dark walnut stain finish, which is my favorite stain color..you may see a lot of it around here!


A few years ago, I seen a B&B that had a medal bucket for a sink.. Can you say LOVE? This was the perfect place to try this. It would be the character I CRAVED in this place.
Having a hubby in construction is the BEST, He can do anything...he sweetly cut out everything for me, added the faucet and did all the plumbing. I so ADORE my man! He is beyond good to me!!!


Don't Cabin's just call  for a rustic finish? I LOVE ALL THINGS RUSTIC!! I primed the rest of the piece and then painted it my favorite shade of white, Cream in my coffee! You can get it from Lowe's. YES, I picked it because of the name..any coffee addict would!!  HEHEE


This is where the fun comes in you sand, sand , AND  sand your little heart out!!  I ADORE it! Maybe because this one was much work...It took like forever!


Wanting to save money, I kept all the drawer pulls and spray painted them with a metallic spray paint. The drawers got lined with pages out of an old William Shakespeare book using Mod Podge. I LOVE that stuff!! 

I hope you are inspired to find your perfect piece that needs to be rescued, maybe even step out and turn a wee little place into a cozy getaway!!!

LOVE, 
NAOMI