I'm so excited to share with you our Kitchen redo!!
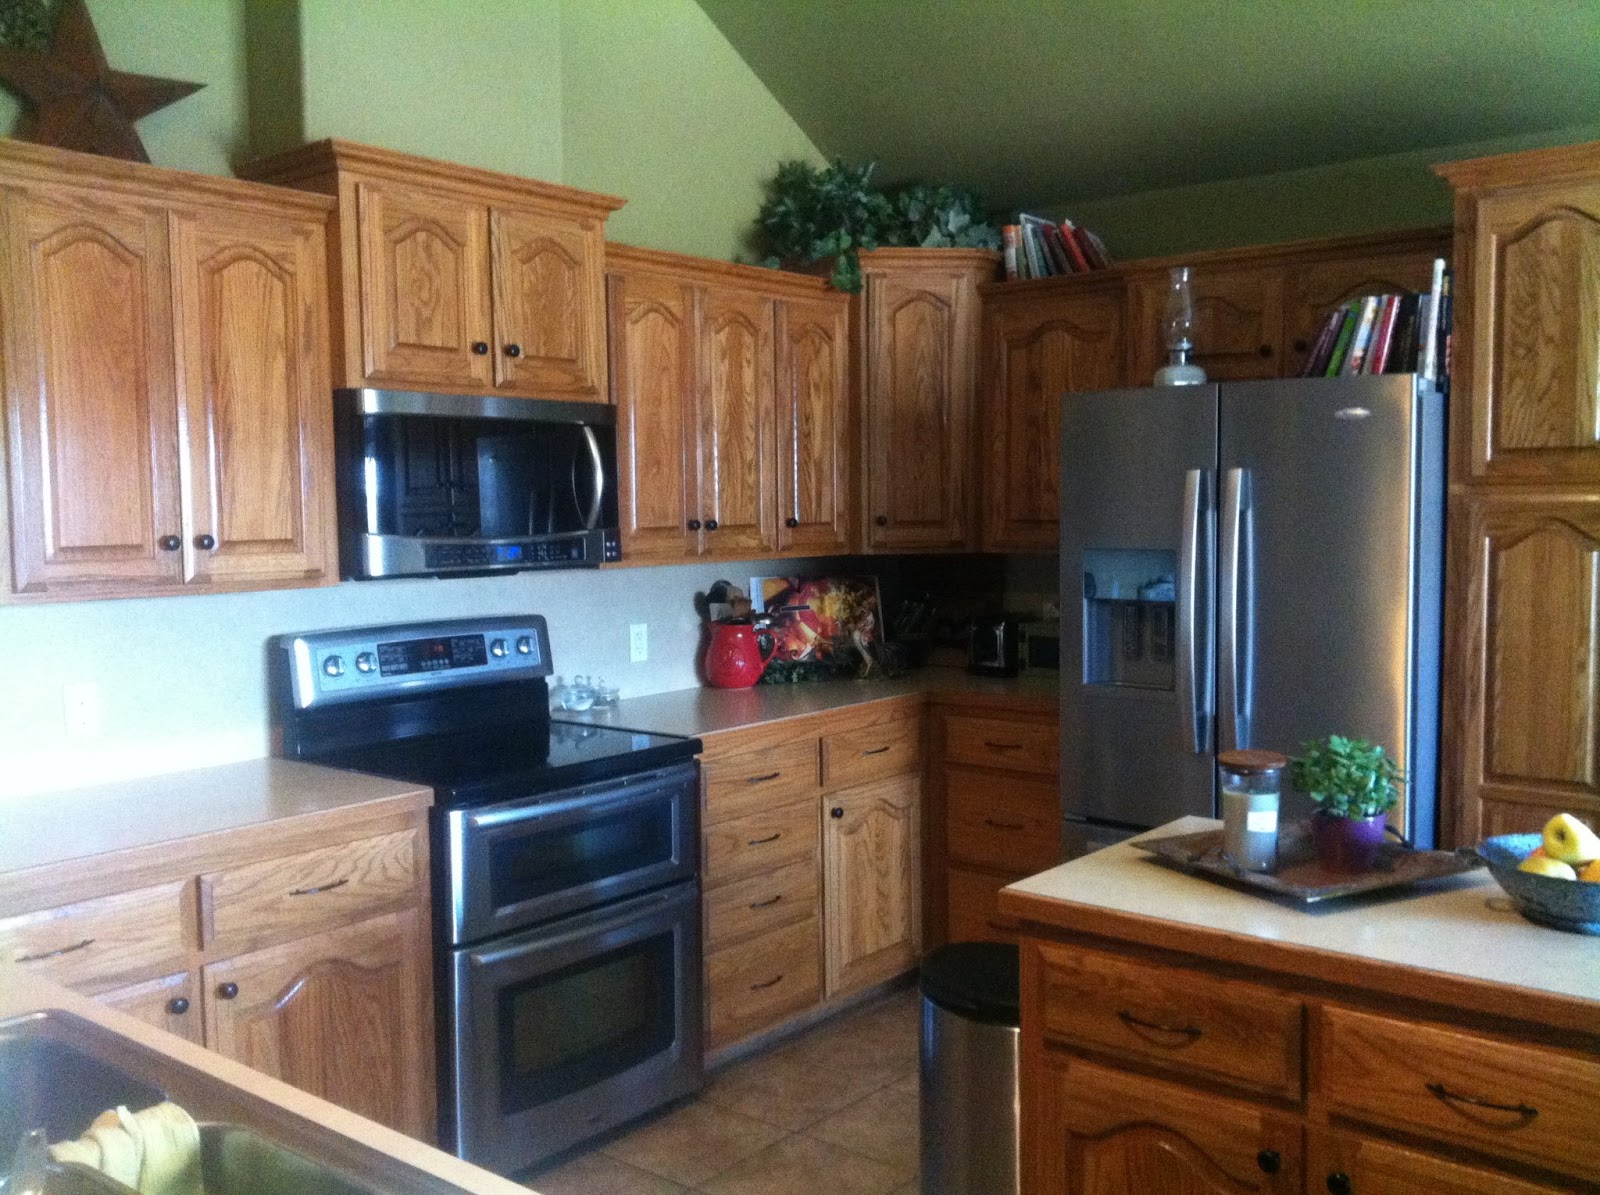
I have been wanting to paint my oak cabinets for a long time..you know when you know it's going to be so so so much work, that you hold off till you just have to make your self take that leap? I'm so glad we finally did!!

I'm amazed every time at what paint will do.
I have always loved the look of a farmhouse kitchen...butcher block counters are a favorite of mine! Hubby was so good to me and surprised me one night when he ordered them! I so love him!
I've been asked to share on how I re-finished them, so here we go...Pic Overload on it's way!!!
Step 1: My cabinets had a thick layer of varnish on them, I began by sanding them a bit to ruff them up. This was the messiest part!! It was also where I went, oh no what was I thinking...with a family of 6, our youngest now at 21 months, you can only imagine how long this project would end up taking me. Start to finish..3 1/2 weeks! I would recommend having a sanding/prepping party..hahaha! That is really the part that takes the most time to do.
Step 2: After sanding I cleaned them and wiped them with a deglosser. It says you can skip sanding when using a deglosser, I choose to do both. Better to be safe than sorry in the long run for me.
Step 4: Time to add your color...we went with the same white as all the trim in our home. The sweetest hubby in the world saved me and sprayed the doors for me!!! As I was slowly painting away one day, hubby came home with a sprayer...I think he felt bad for me at the time, or he was probable thinking this will never end if I don't step in and save her, Hahaha! Did I tell you that I love him?!! He is seriously so good to me all the time!!
Step 5: Removed our old counter tops. The reason we didn't go ahead and start on bottoms was the counters needed to be removed, and we didn't want to scratch bottoms. Once they were removed, I started the whole process over again on them.
Step 6: We added a bead board backsplash! One of my all time favorites!
Step 7: Hello beautiful butcher block counters!!! Hubby ordered them from Lumber Liquidators. They come unfinished, so after hubby cut them, we sanded and sanded once again. We decided to stained them, then added a butcher block oil/sealers on all sides before installing them.
What use to be such a dark space is now light and bright, just what I needed! I used the same white, different sheen, on our walls as well. Our dining side is still a work in progress! My goal is to fill our wall with a collection of favorite plates, change out our curtains. I am so in love with my home again. Our main space is now drenched in Whites!!
It feels clean, a new uncluttered space! My heart is happy!!! It was a lot of work, but it was so worth it!!
Before I go here is a before and after for you...
Paint can completely change the feel of your space!
Thanks for stopping in...
Love,
Naomi